
The complete guide
How to choose and use portable pop up football goals
Why portable goals get used
The biggest factor in whether football kit gets used is how long it takes to set up. If it is ready in under a minute, it comes out after school, before dinner or at the end of training. If it takes ten minutes and a diagram, it comes out twice a summer.
Pop up goals sit firmly in the first group. You take them out of the bag, they spring into shape, and the game starts.
Where they work
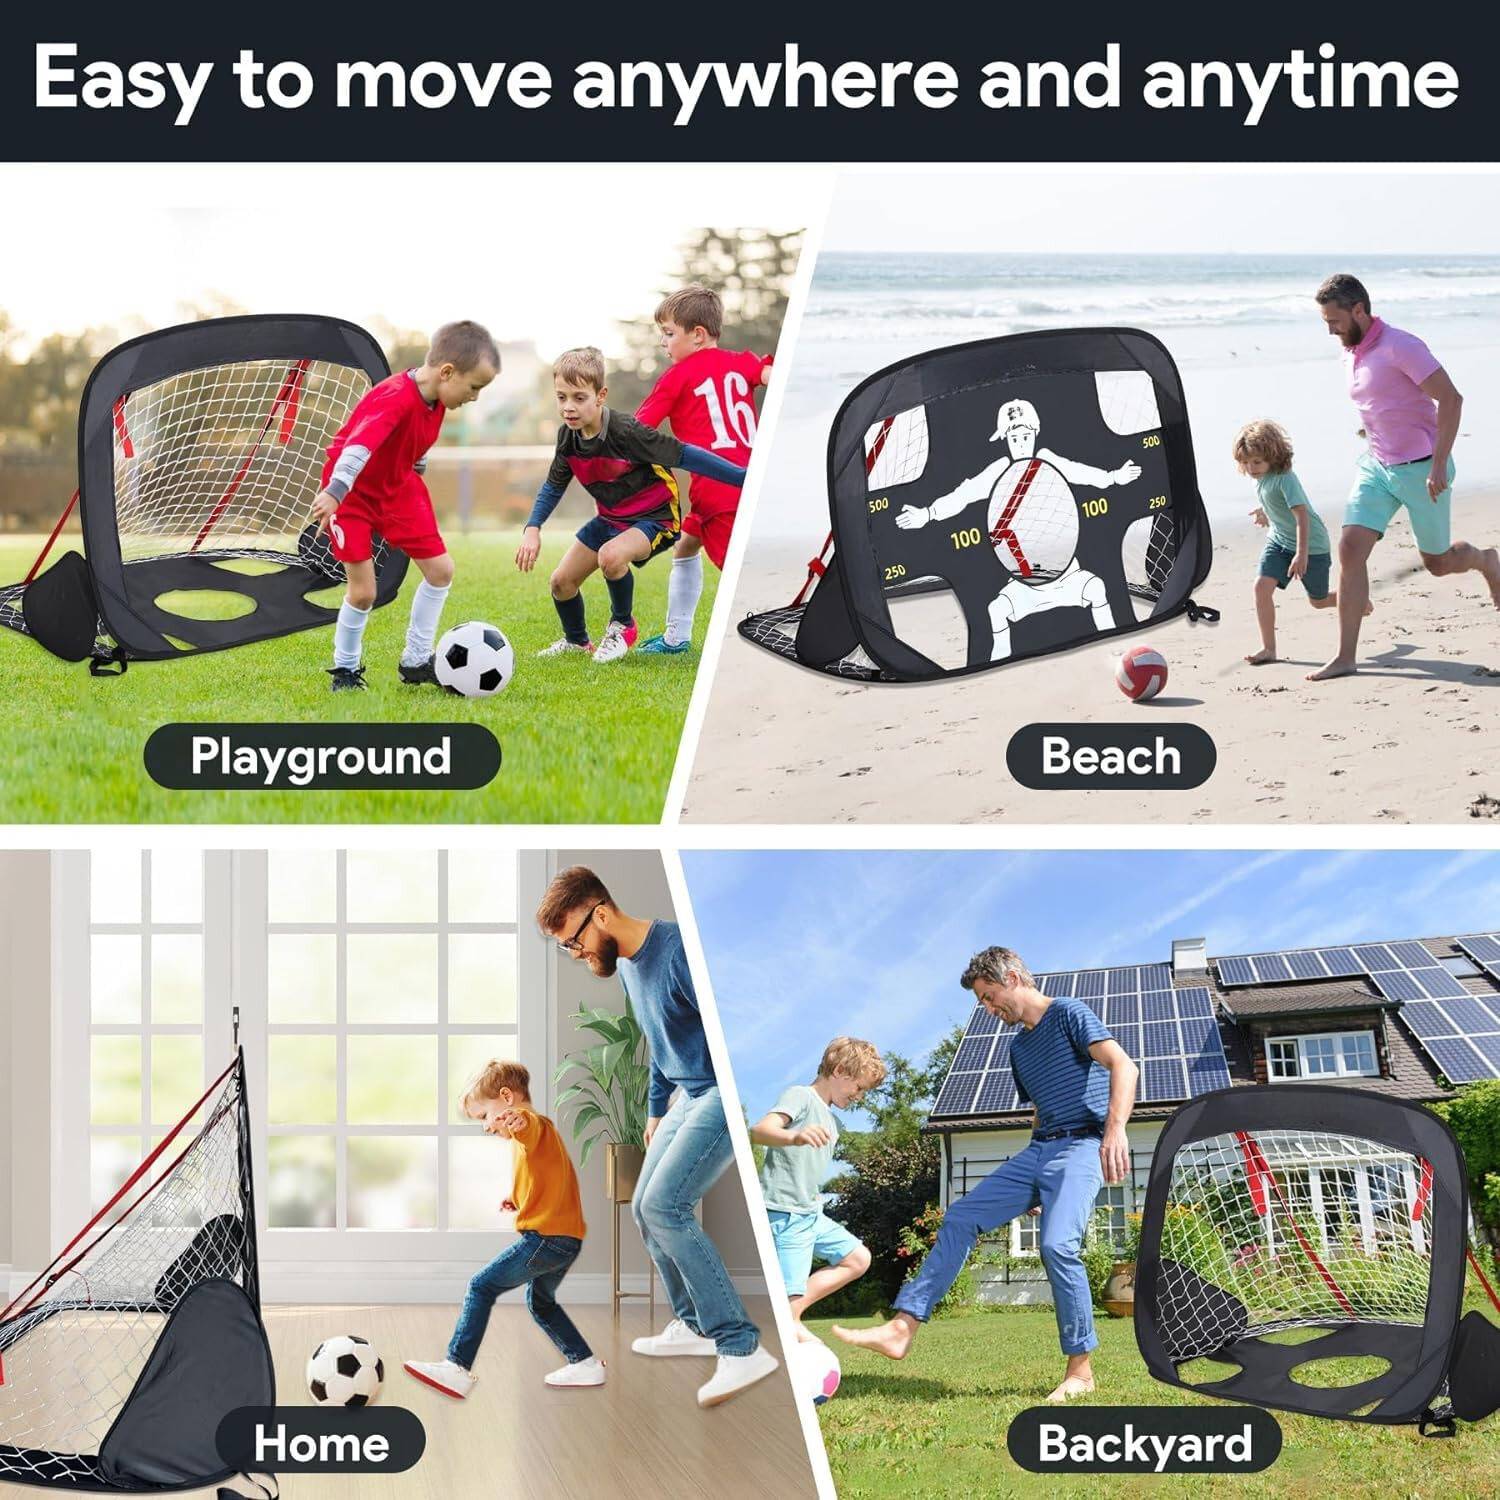
A portable goal is not tied to one pitch. It goes where the players are:
- The back garden for a kickabout.
- The local park or green.
- A training session where the coach needs extra goals for small sided games.
- A school yard or sports hall, set up for a lesson and cleared away after.
What to look for in a portable goal
Set up time
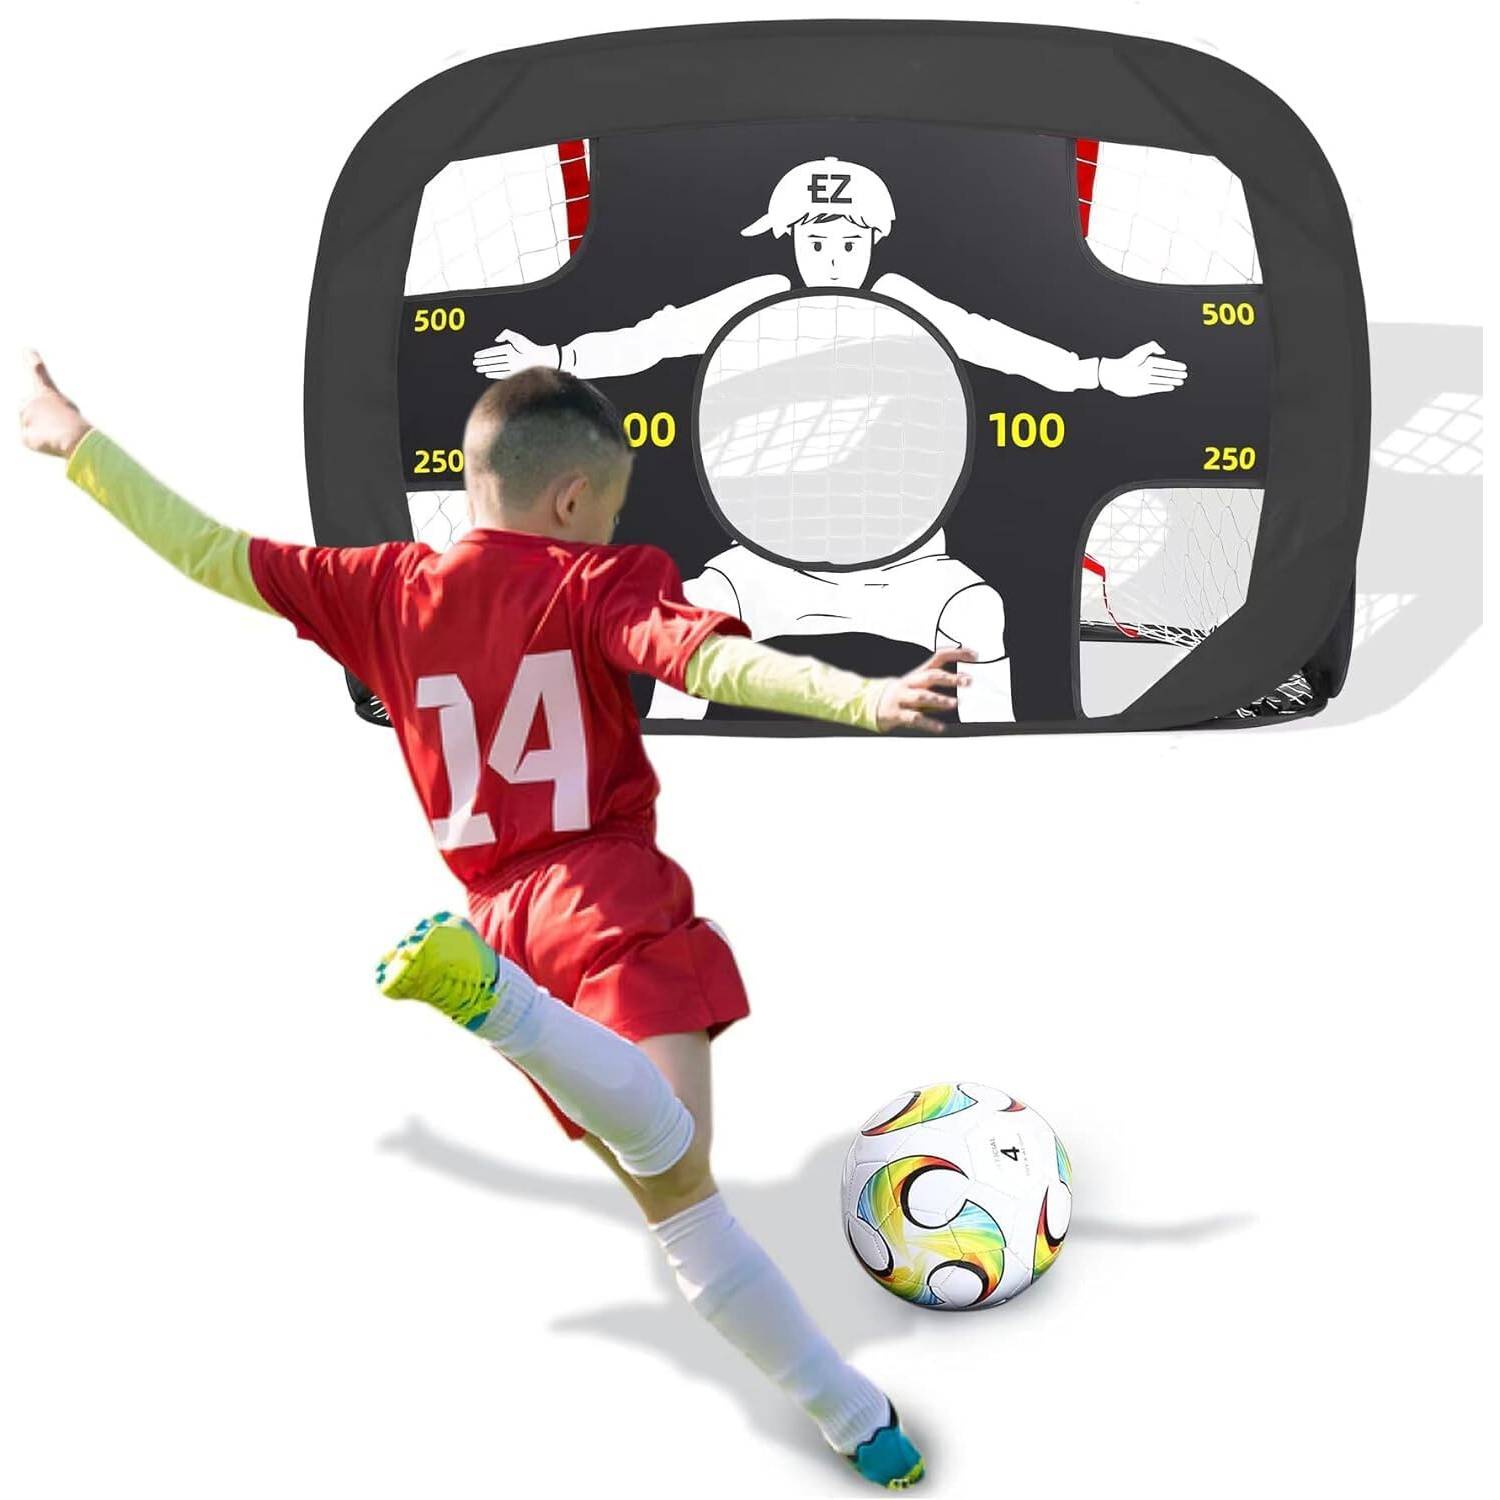
A pop up frame beats a pole and clip frame for speed. This goal needs no tools. It springs open and folds back into its bag.
Fabric and frame
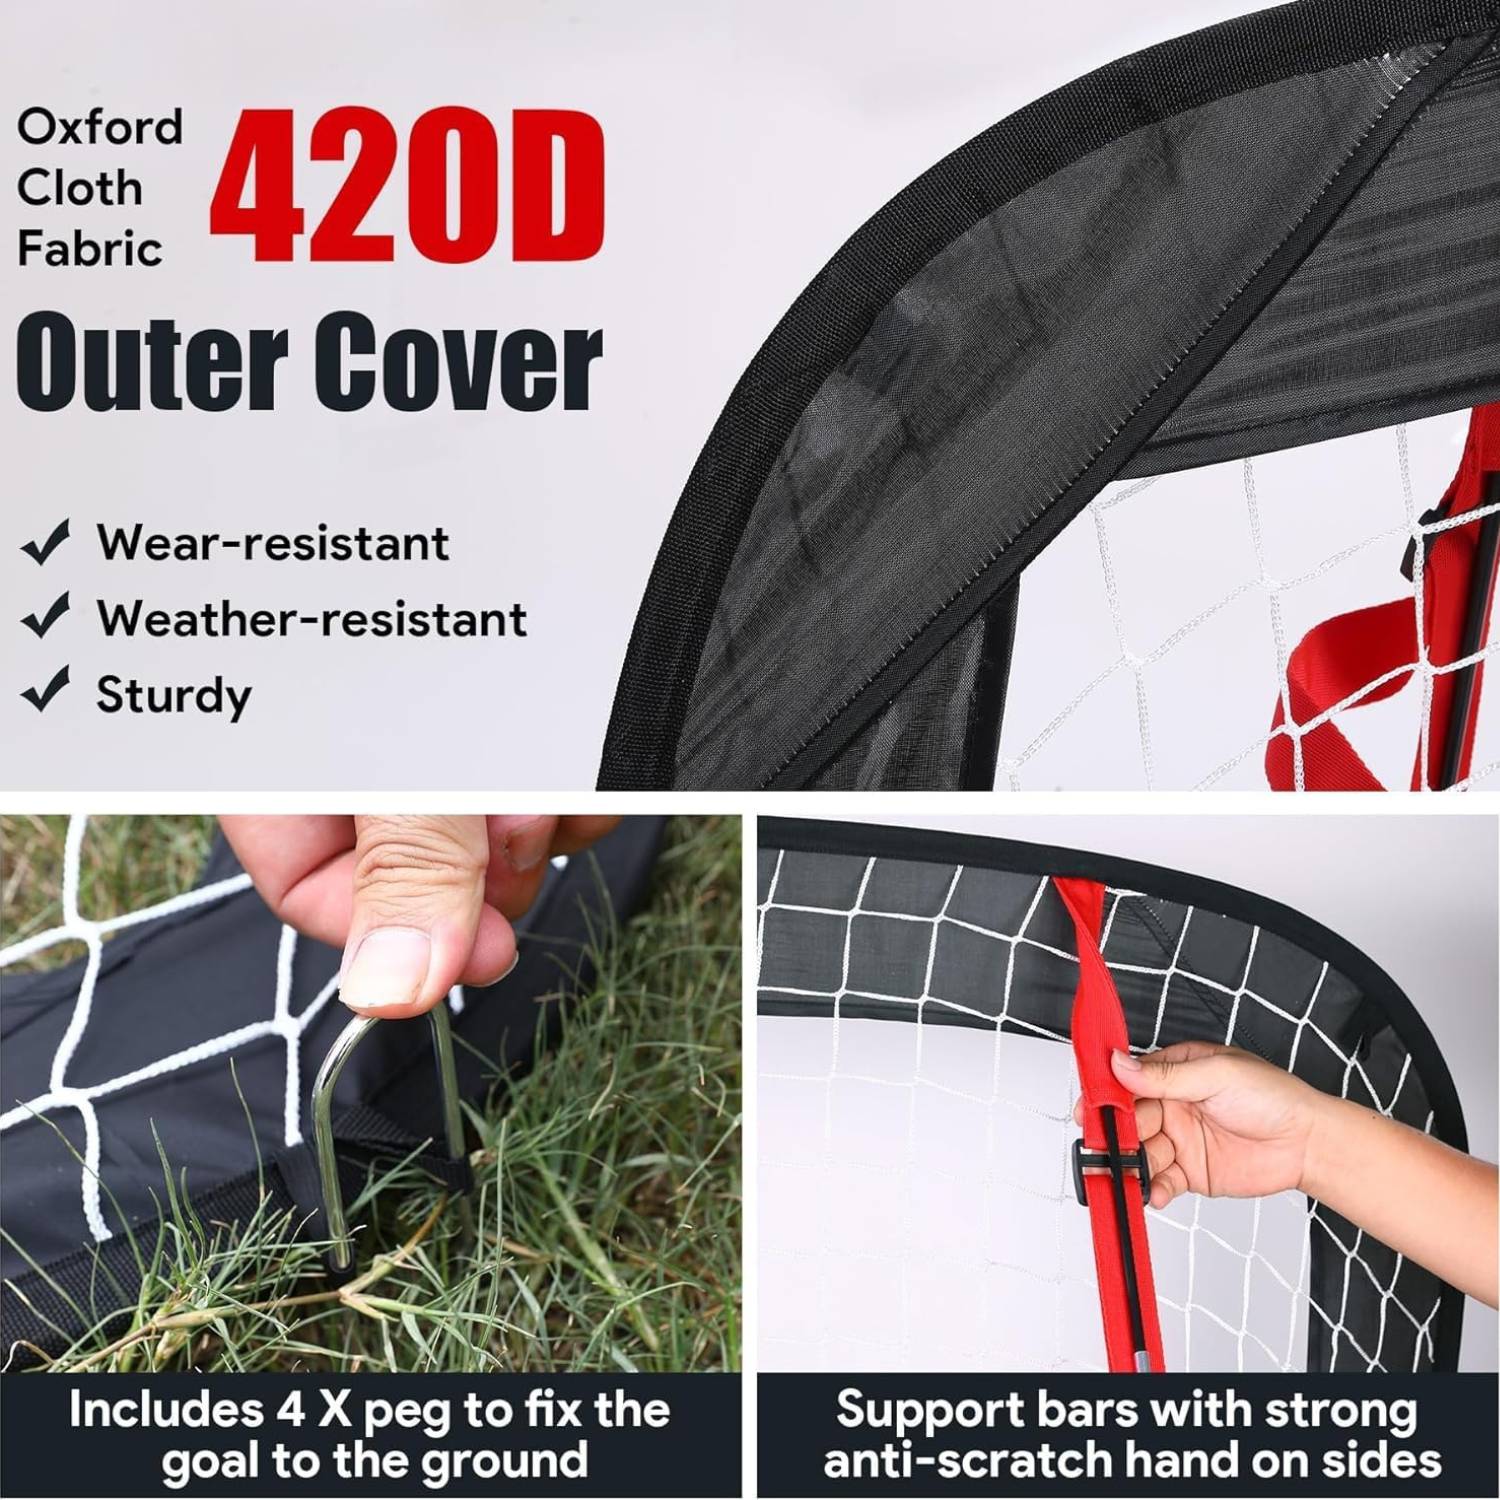
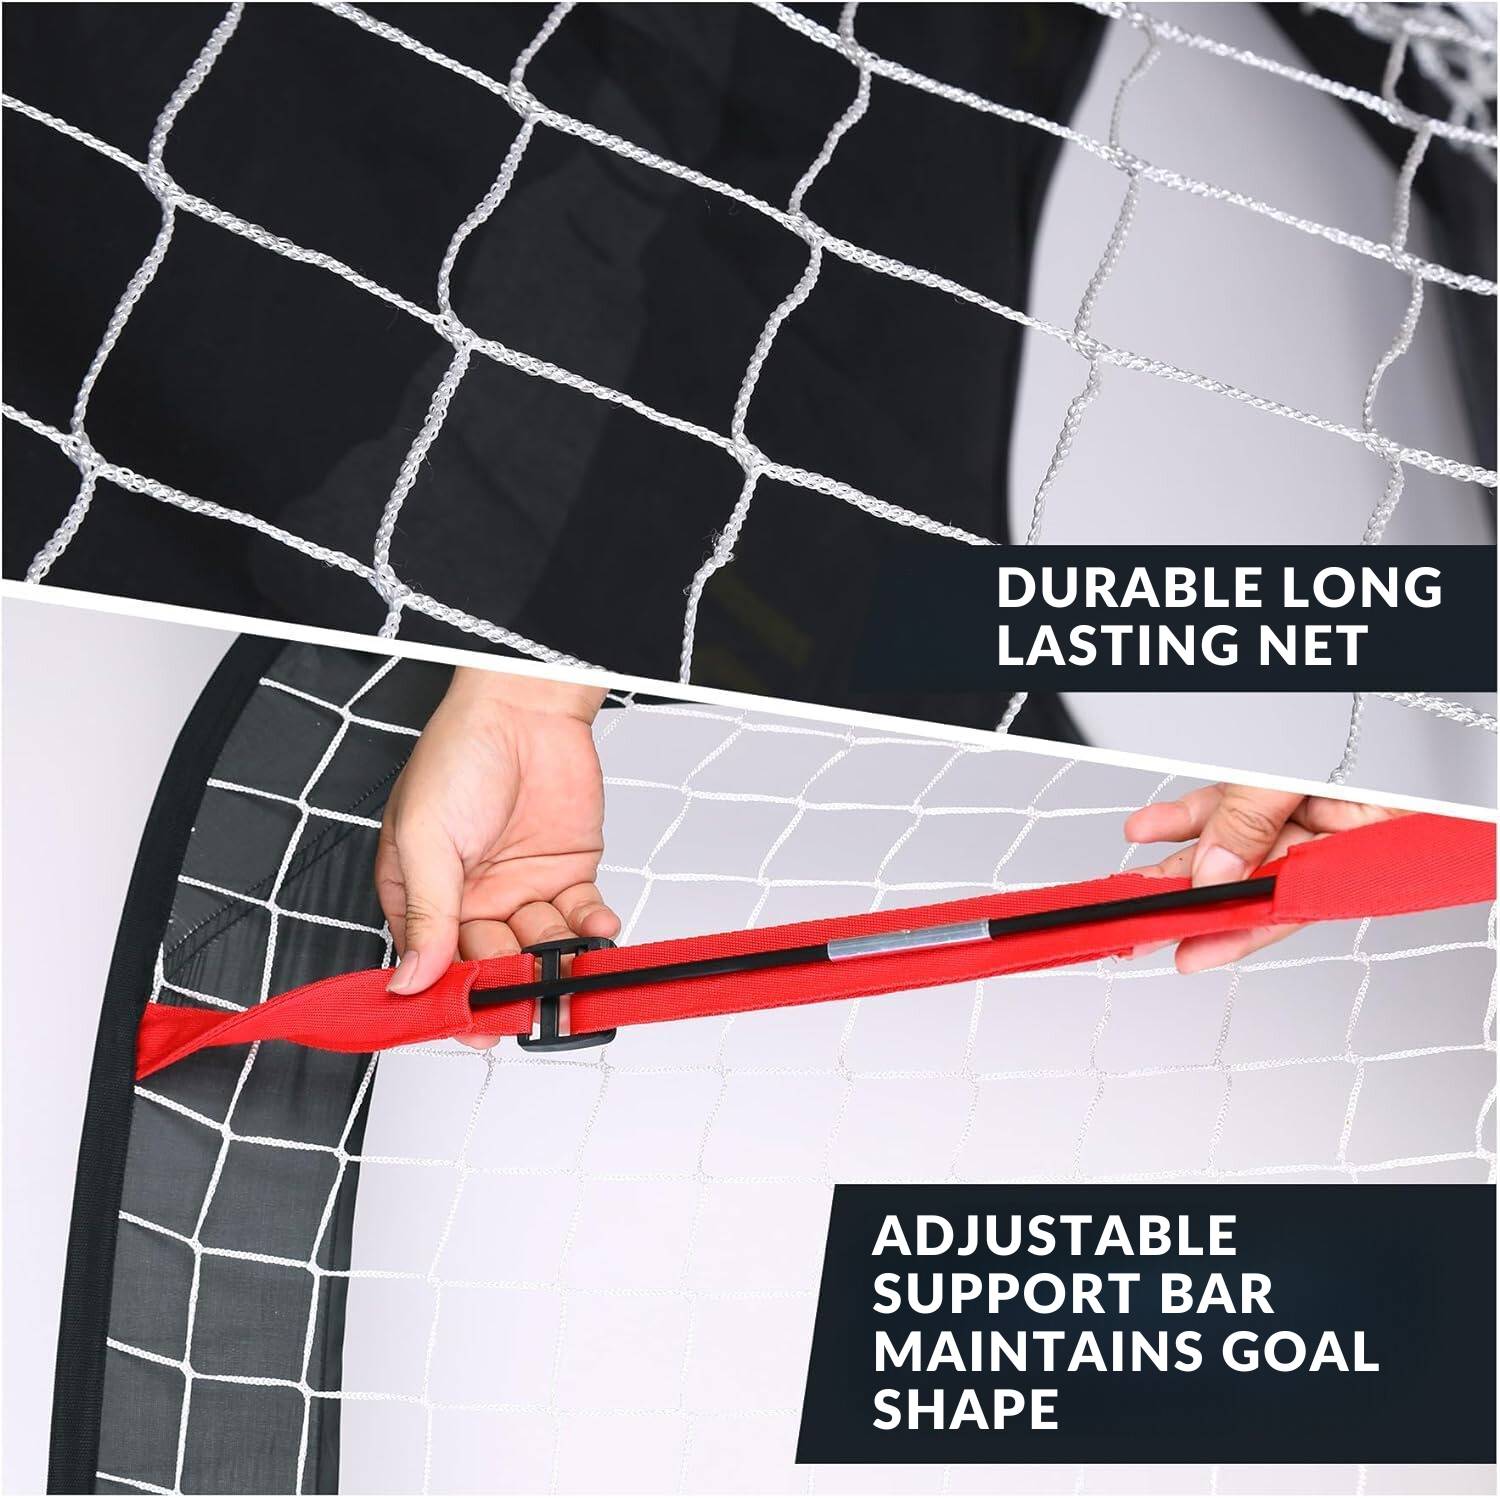
Thin mesh tears quickly on grass. This goal uses high density 420D Oxford fabric with reinforced edges, on a fibreglass and PVC frame. Webbing across the top supports the shape, and the net is polyester.
A way to hold it down
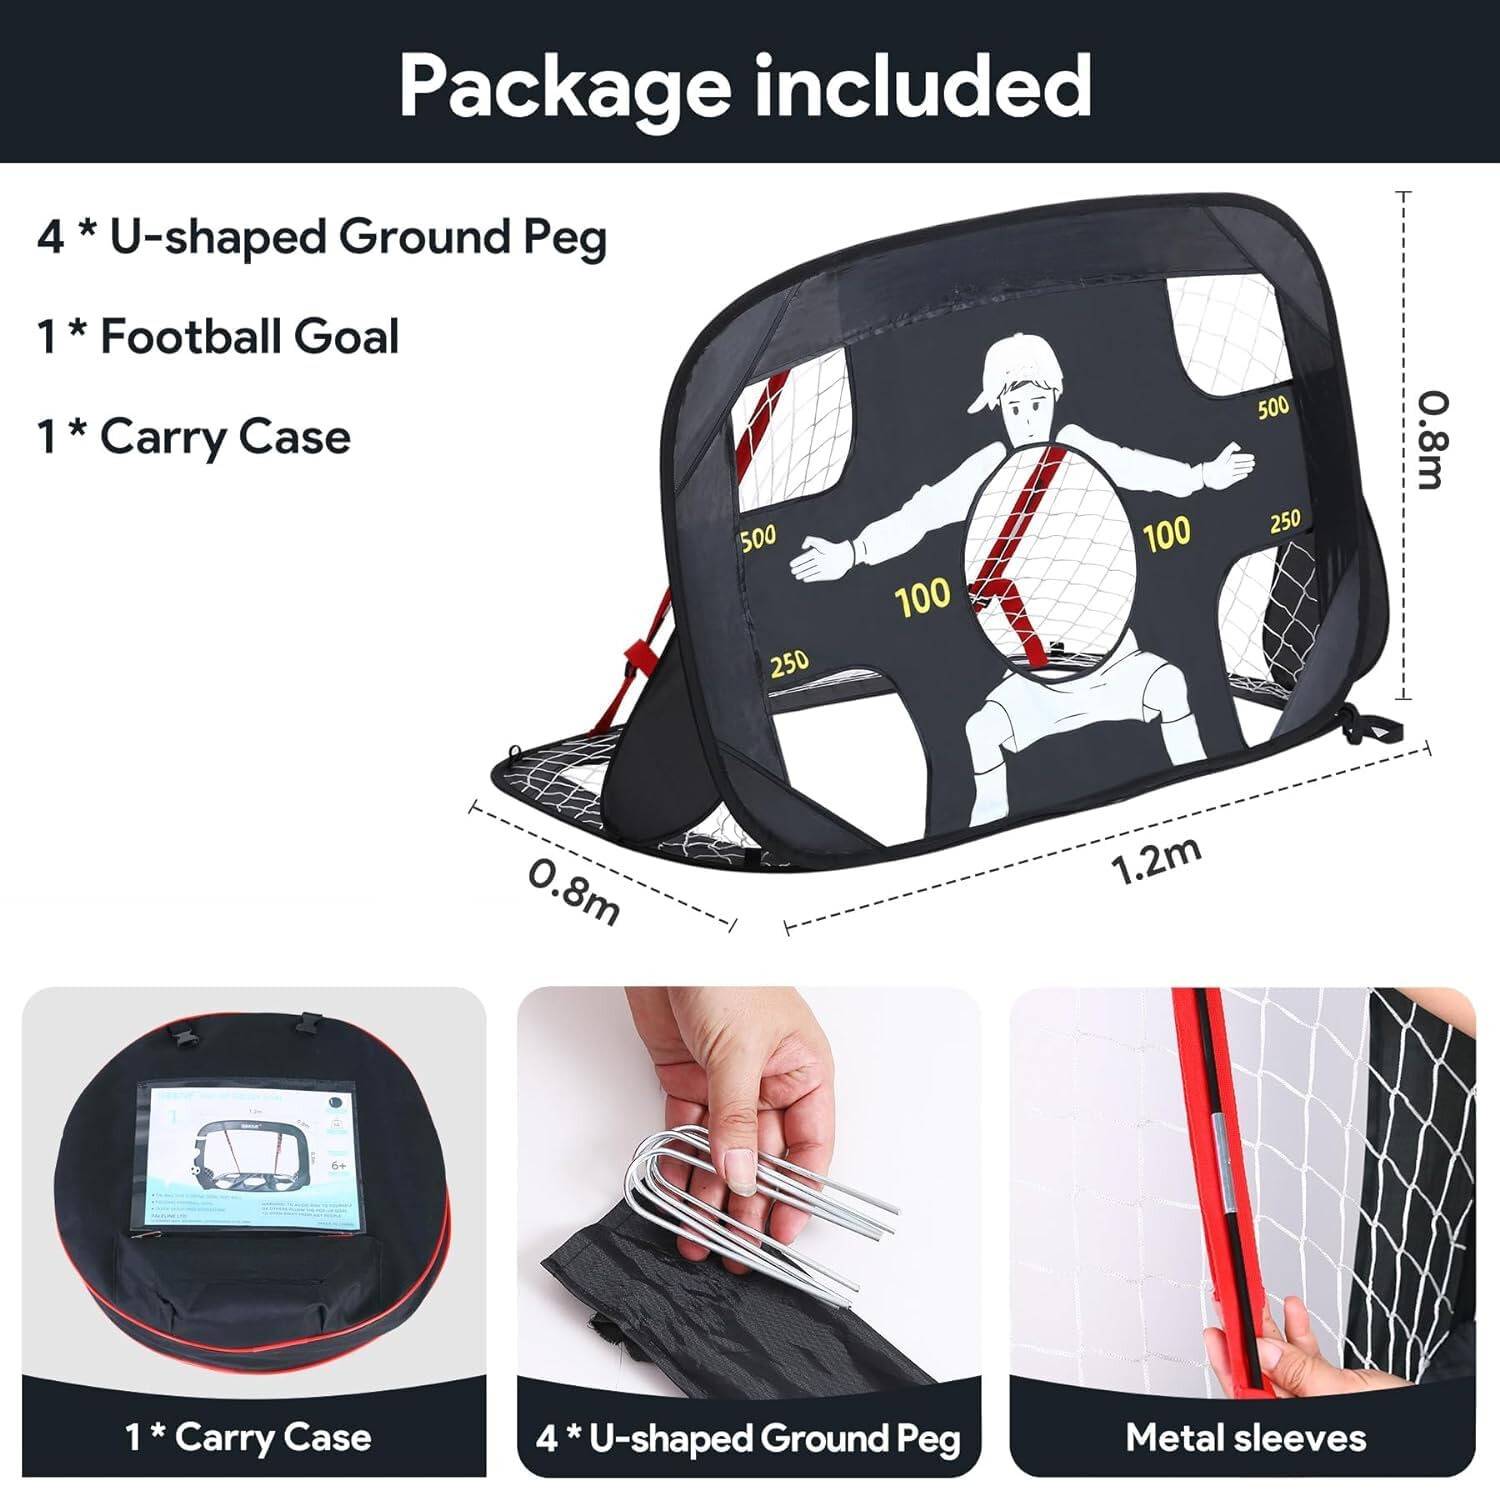
Every light goal needs anchoring. This one comes with four U-shaped ground pegs, and adjustable support bars in metal sleeves hold its shape.
Training value
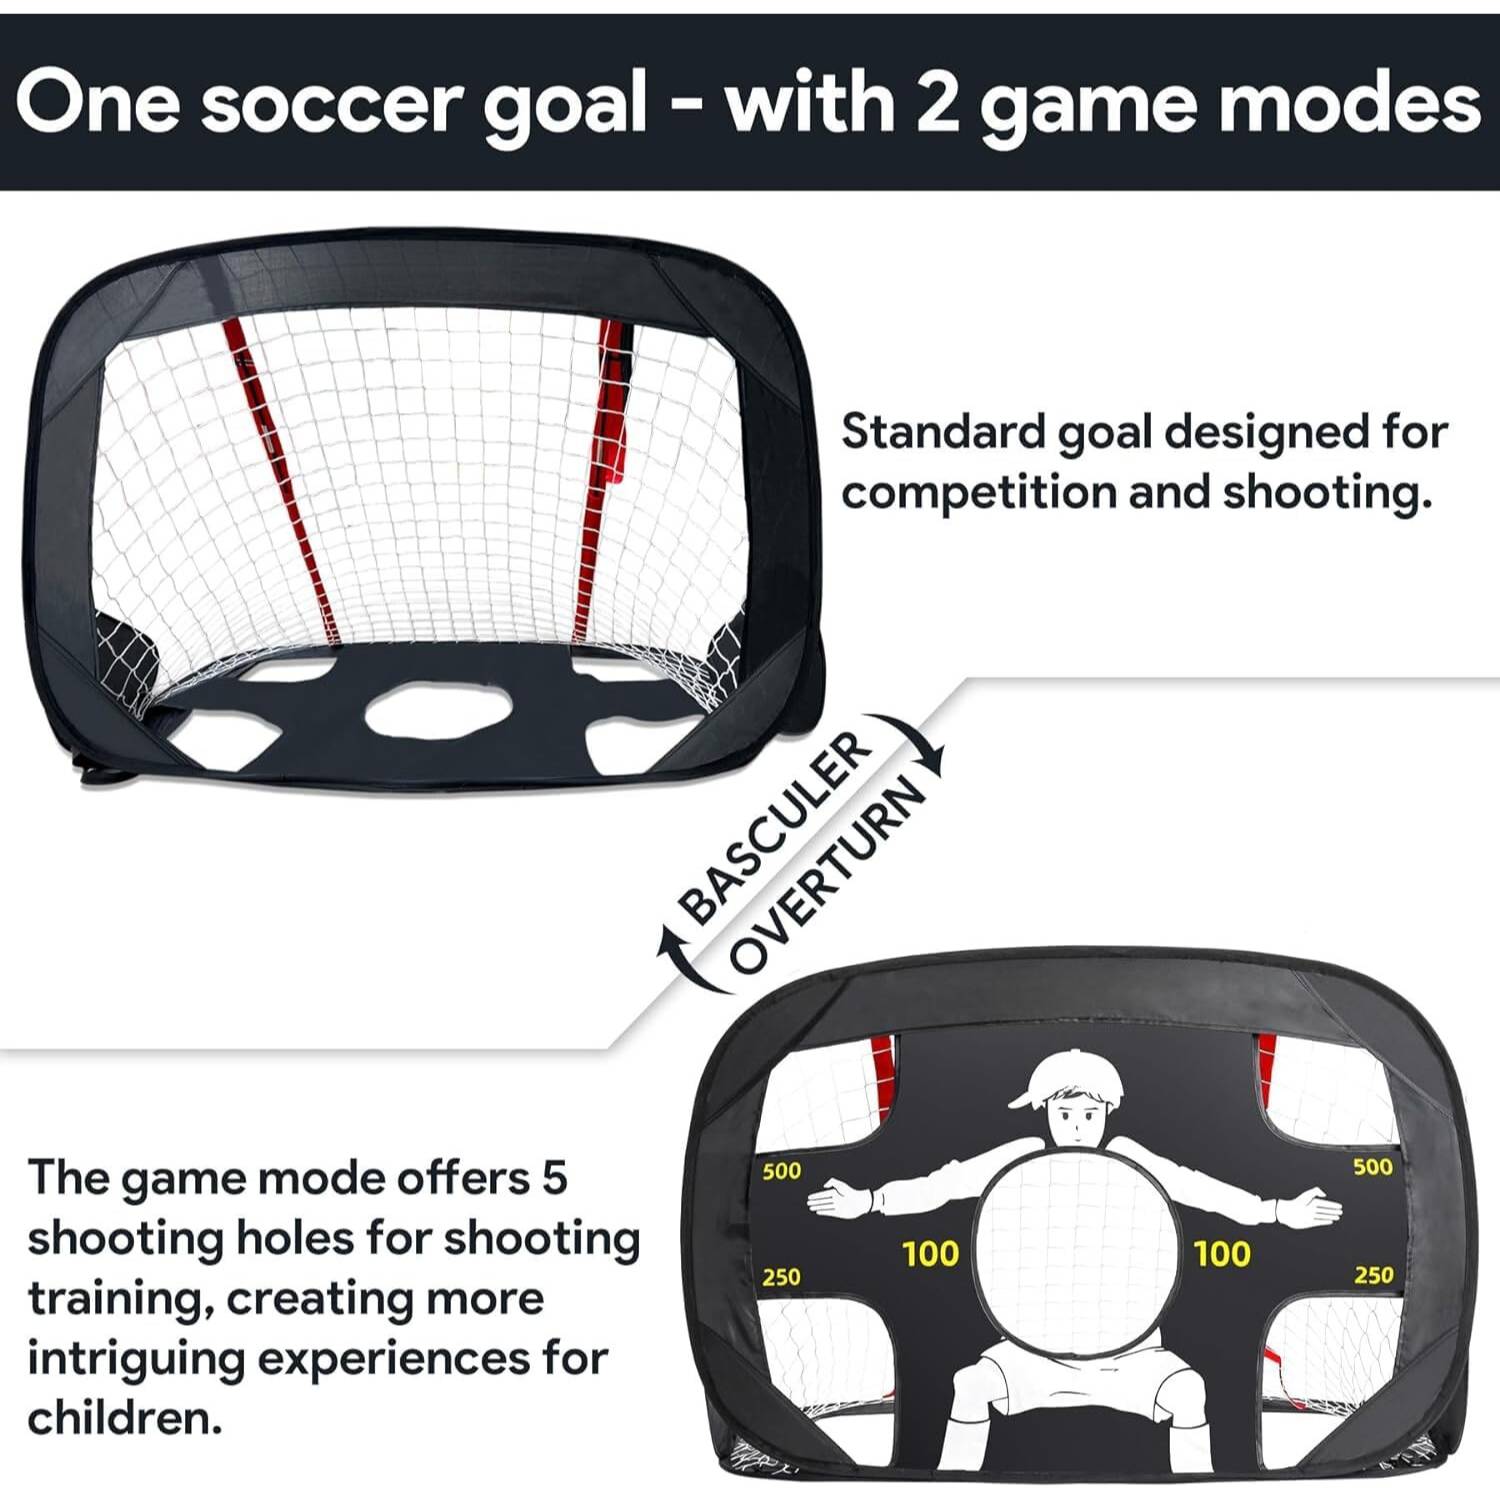
A goal with a target design gives players something specific to aim at. That turns a kickabout into shooting practice.
Size
At about 1.2m wide and 0.8m high, check it against your space and the age of your players. If you are unsure, email us before you order.
Setting up safely
Always peg it down
Fasten the side straps and push all four pegs into the ground before play starts. A light goal that is not anchored can tip or move when a ball hits it or a player runs into it.
No climbing or swinging
Children should never climb on a goal or hang from the crossbar. That applies to every goal, portable or fixed, and it is worth saying at the start of each session.
Watch the wind
On a breezy day, check all four pegs are firmly in. On a truly windy day, a pop up goal is the wrong tool, so fold it away.
Supervise young players
An adult should set the goal up, check it is secure, and keep an eye on play.
Placing goals so the game works
- Point the goals away from the house. It sounds obvious, and it prevents most broken windows.
- Use the length of the space, not the width. More running, fewer arguments about the ball going out.
- Leave room behind each goal. Balls go wide, so give them somewhere to stop that is not a flowerbed.
- Move the goals now and then. Shifting them a metre every few weeks spreads the wear on the grass.
Drills that need only one goal
- Shooting from set spots. Ten from the left, ten from the right. Count how many go in.
- Two touch finishing. One touch to set the ball, one to shoot. A simple drill that builds finishing for young players.
- Target practice. Use the target design and call the corner before each shot.
- Passing accuracy. Lay a goal on its side and pass into it from a distance.
Looking after your goals
- Dry before packing. Every time. A damp goal zipped in a bag will smell.
- Learn the fold once. Follow the instructions rather than forcing the frame, which is how pop up frames get kinked.
- Keep studs off the fabric. Standing on a goal lying on the ground damages it far more than any shot.
- Store it dry. Keep the bag in a dry shed or garage between sessions.
For clubs and schools
If you need several goals for a club, a school or a summer camp, ask for a quote on our wholesale page.